
How to Install Apache on Ubuntu
Before installing new software, it’s a good idea to refresh your local software package database to make sure you are accessing the latest versions. This helps cut down on the time it takes to update after installation, and it also helps prevent zero-day exploits against outdated software.
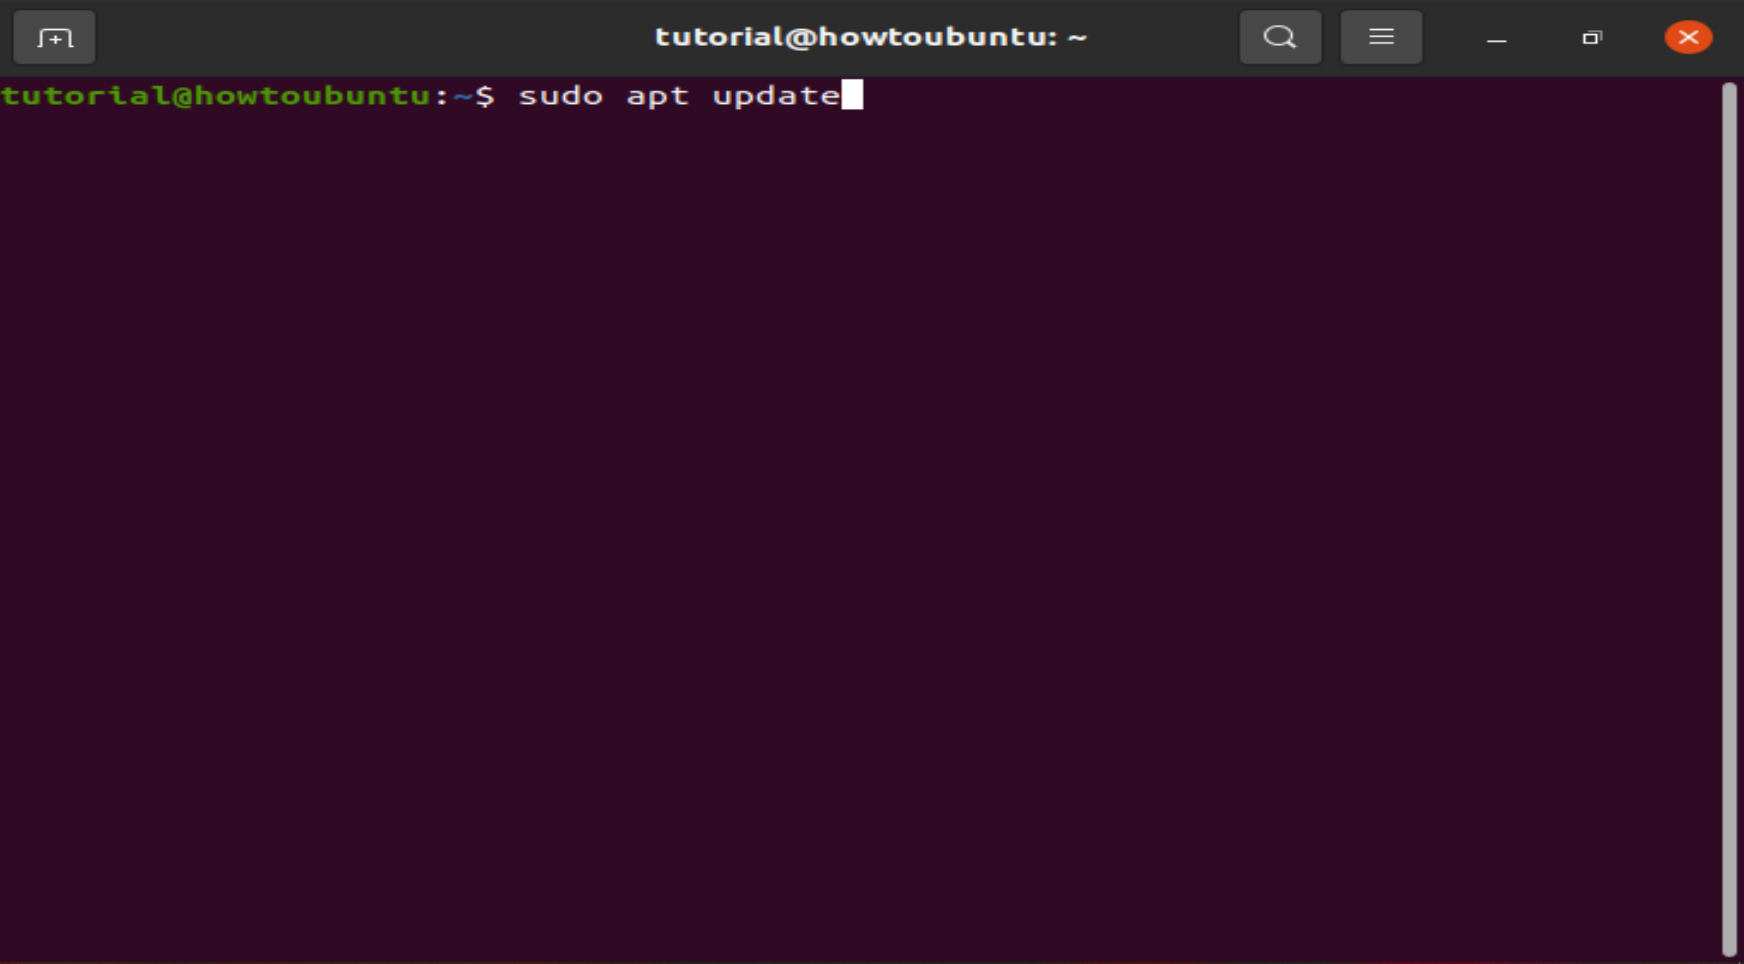
Open a terminal and type:
sudo apt-get update
 Let the package manager finish updating.
Step 1: Install Apache
To install the Apache package on Ubuntu, use the command:
sudo apt-get install apache2
The system prompts for confirmation, do so, and allow the system to complete the installation.

Step 2: Verify Apache Installation
To verify Apache was installed correctly, open a web browser and type in the address bar:
http://local.server.ip
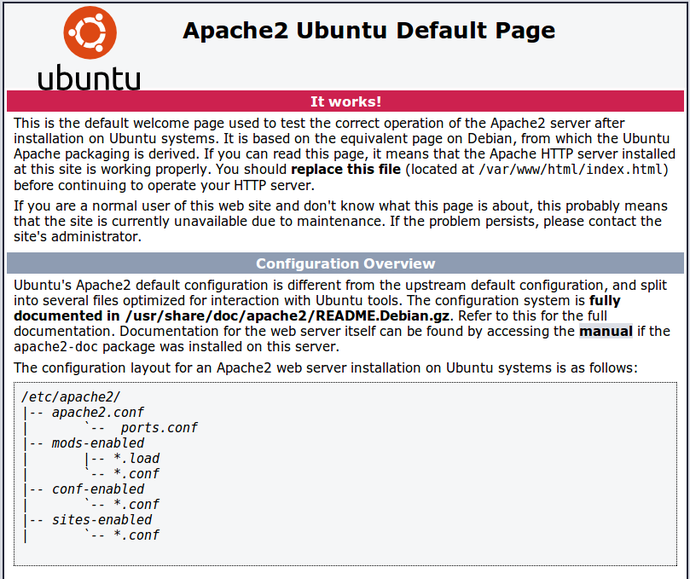
The web browser should open a page labeled “Apache2 Ubuntu Default Page,” as in the image below:
Note: Replace local.server.ip with the IP address of your server. If you are unsure what's the IP address, run the following terminal command:
hostname -I | awk '{print $1}'
The output will return your server’s IP address.
Step 3: Configure Your Firewall
Although the Apache installation process is complete, there is one more additional step. Configure the default UFW firewall to allow traffic on port 80.
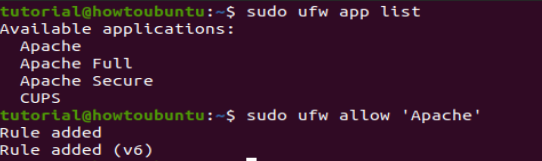
sudo ufw allow 'Apache'
Start by displaying available app profiles on UFW:
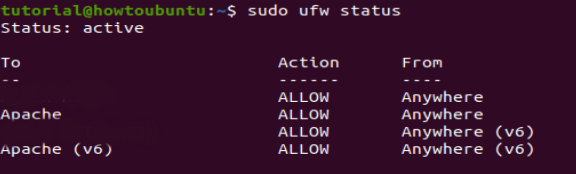
Verify the changes by checking UFW status:
sudo ufw status
If you have other applications or services to allow, make sure you configure your firewall to allow traffic. I suggest installing OpenSSH for secure encrypted connections to the server. Once OpenSSH is installed do
sudo ufw allow 'OpenSSH'
To enable it.