
What is RocketChat?
RocketChat is an open-source team chat client, similar to other team chat solutions such as Slack and Mattermost. It can be self-hosted, supports voice & video chat, and has apps for all popular platforms (web, Windows, macOS, Linux, Android and iOS).
Installation
First, we need to install RocketChat. Luckily, there’s a RocketChat snap that can easily be installed using Snapcraft. Snaps are easy to install, isolated from the rest of your system, and auto-updated.
snap install rocketchat-server
Accessing your server
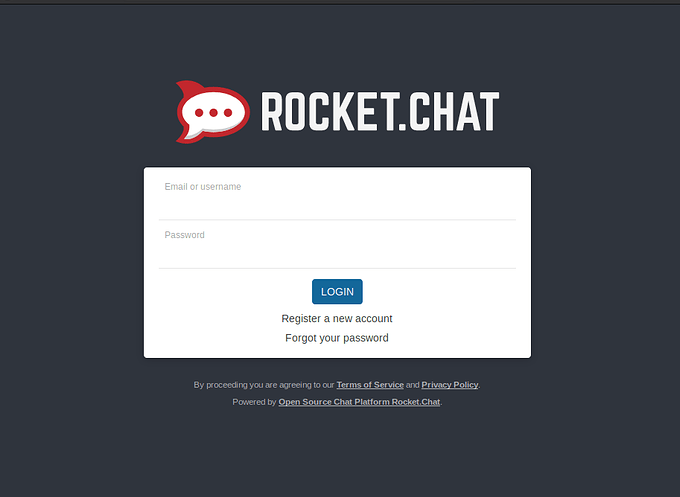
By default, your server will be available on port 3000. You can access this by going to serverIP:3000 (replacing ‘serverIP’ with your server’s IP address) in your web browser, or localhost:3000 if you’re running the server locally. You should be greeted by the following screen:
 Now that your server is setup, you can actually start using it! In the next sections, we’ll cover basic usage and configuration of your server.
Basic Usage
Creating an account
First, you’ll have to create an account. The first account created on the server will automatically become an admin, which will allow you to configure the server.
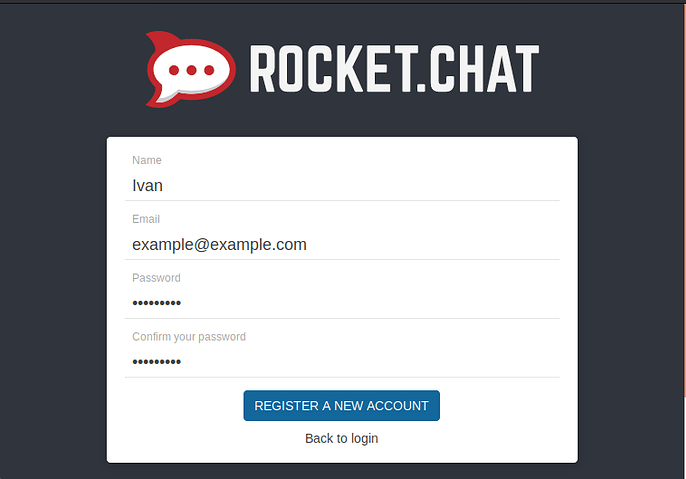
Click on Register a new account. You’ll be shown a screen where you must enter your name, email and password.
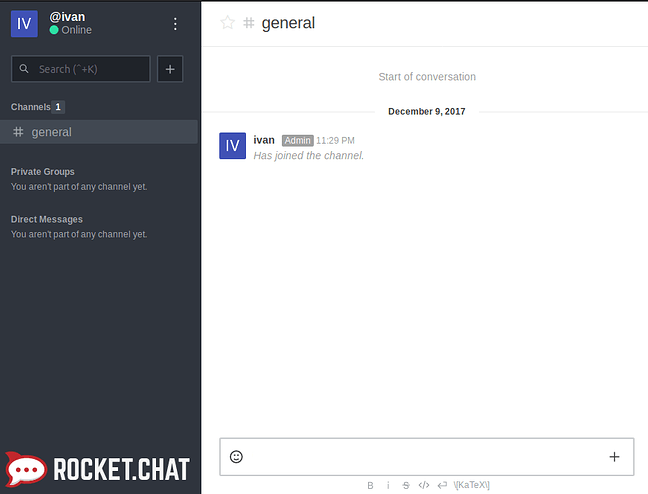
 After registering, you will be logged in automatically. By default there will be one channel (
#general), and there should be a message showing that you joined. There should be badge beside your name, indicating that you’re an admin, as shown below:
That’s it, you have successfully installed RocketChat on your Ubuntu Server and you can start using it!