What is Rust?
Rust is a multi-paradigm, high-level, general-purpose programming language designed for performance and safety, especially safe concurrency. Rust is syntactically similar to C++, but can guarantee memory safety by using a borrow checker to validate references.
Before we install
Before we begin to install Rust on Ubuntu, we might wish to make sure that all our system repositories are up-to-date. To do this, we need to update our default repositories using the apt package management service. To do this, you need to open the terminal on your Ubuntu system and type the following.
sudo apt update
Next, we will use the upgrade command in our terminal
sudo apt upgrade
Enter Y in the command line to proceed with the operation. Now, we would have all the updated repositories when we install Rust on your Ubuntu terminal
Install Rust on Ubuntu using the RustUp Script
While there are several different ways to install Rust on Linux, the most recommended method is using the rustup shell script.
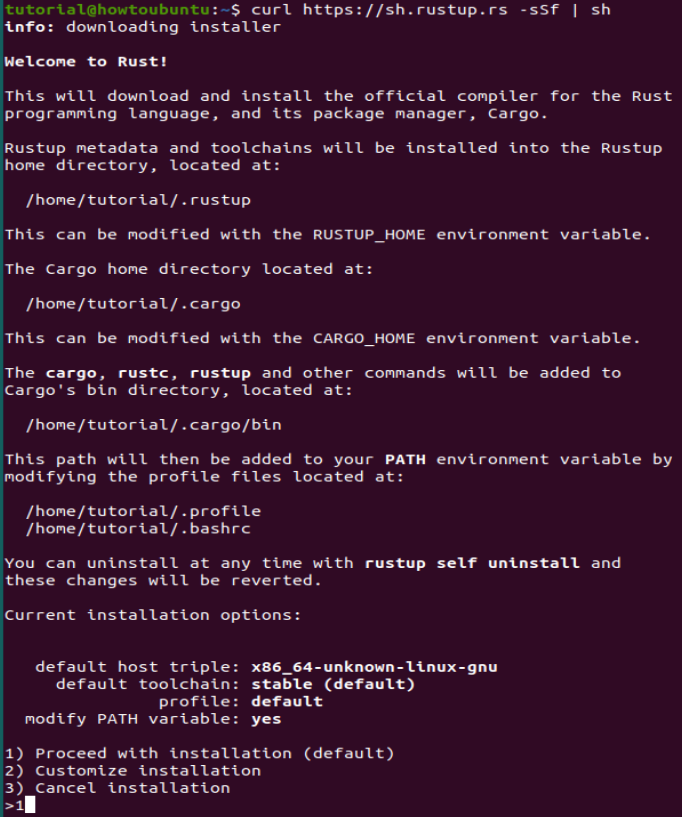
This is the recommended way to install Rust on Ubuntu on the official Rust website. So this would be the method we will be using in this tutorial. To use the rustup installer, we need to enter the following command in our terminal.
curl https://sh.rustup.rs -sSf | sh
Press 1 when you are prompted.
 This will take a couple minutes but the ETA may vary to your internet download speeds.
Now, we will configure our current shell using the following command.
source $HOME/.cargo/env
Verifying the installation
Once we install Rust on Linux, we need to verify the installation before we can start using Rust on our system.
We can verify this by asking the terminal for the version of the Rust programming language on our system. To do so, we enter this in our terminal.
rustc --version
Output
rustc 1.55.0
That’s it, you have successfully installed Rust on your Ubuntu Server and you can start using it!
