Method 1: Install Visual Studio Code on Ubuntu using Snap
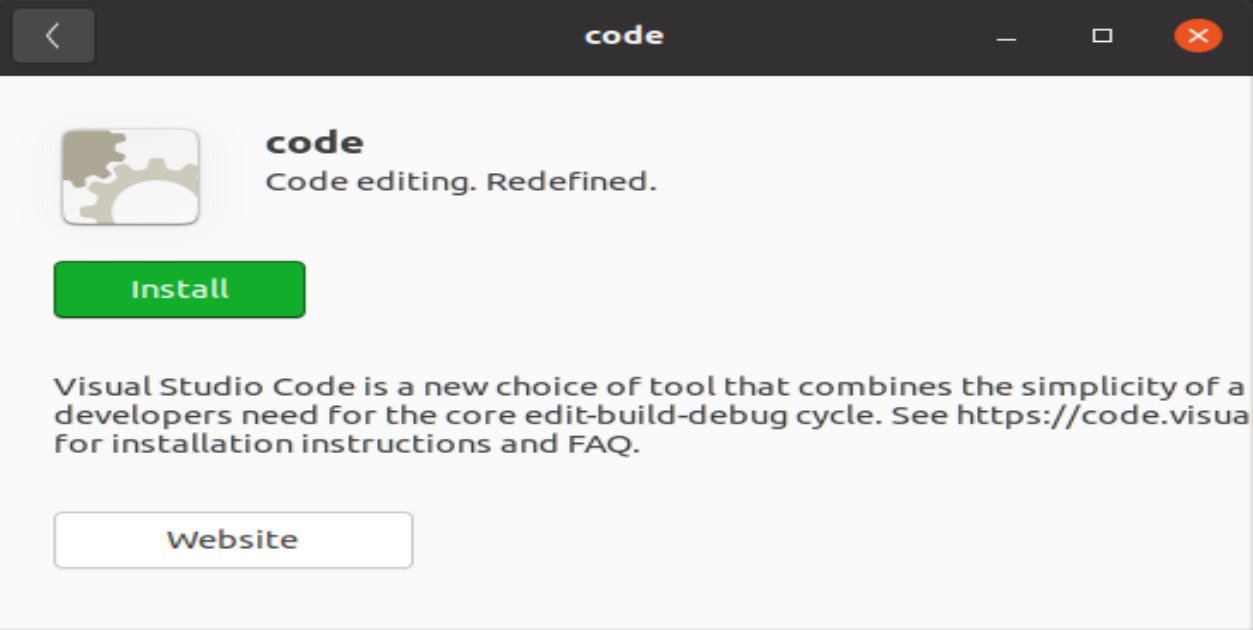
Visual Studio Code is available as a snap package. Ubuntu users can find it in the Software Center itself and install it in a couple of clicks.
 Visual Studio Code in Ubuntu Software Center
Snap packaging means you can install it in any Linux distribution that supports Snap packages. If you don't have snap installed then type the command in the terminal:
sudo snap install code --classic
Snaps are special kind of packages that are usually big in size. So it will take some time in downloading and installing the Snap package depending upon your internet speed.
Method 2: Using the .deb/.rpm packages
Microsoft provides packages to install Visual Studio Code in Linux. Just head over to the download page of Visual Studio Codeand you’ll find the .deb file options for Ubuntu/Debian platform.
There are options for 32-bit systems as well. If you’re not sure about that, here is the guide to find if your Ubuntu is 32 bit or 64 bit. Open up the terminal and type in
lscpu
Once you find out which one your vm or computer is download the correct type of file. Once downloaded we now need to install it.
Method 1: Use the default Software Center
The simplest method is to use the default software center in Ubuntu. There’s nothing special to do here. Simply go to the folder where you downloaded the .deb file (usually the Downloads folder) and double click on the file.
Double click on the downloaded .deb file to start installation
It will open the software center, where you should see the option to install the software. All you have to do is to hit the install button and enter your login password.
 If your Ubuntu Computer have a root password then just type it in when you get the pop-up. Once you typed in your password it will install!
Open up Visual Studio Code and your DONE!
